This is the home of Authproject’s documentation.
Use these pages to get started using Authproject.
This is the multi-page printable view of this section. Click here to print.
This is the home of Authproject’s documentation.
Use these pages to get started using Authproject.
What is Authproject?
Authproject is a cloud authentication service aimed for everyone. It was developed to democratize access to secure user management and authentication, making a necessary service available to everybody.
When a user visits the Authproject-managed authentication page, they are given the option to sign in to an existing account, or sign up for a new one. All signups and signins are handled by Authproject, and do not touch your servers. Users can go through a normal authentication flow, where they sign in using one of multiple available options, and authenticate to your application using OAuth.
Authproject was designed with security in mind. All connections - both internal and external - are transmitted via industry standard TLS encryption, and all passwords are hashed using Argon2, a newer, highly secure cryptographic hashing algorithm.
Beyond just passwords, we (naturally) take security very seriously. All servers utilize disk encryption, strong keys for accessing databases, and robust verification of security standards.
Jump on over to Getting Started to learn how to use the platform.
To start with Authproject, you’ll need just a couple of things:
This is the primary domain that people will see when they try to log into your
application. We recommend it is something short and easy to remember, while also
being a subdomain of your main website, like auth.yourdomain.com.
You’ll also need the name of your project. This can be any short string, such as
My Project.
You’ll need to be able to create DNS records for your domain. Four records will need to be added - one for the primary domain, and three for emails.
First, set up the primary authentication domain. This should be nice and simple.
Once you have selected the subdomain to use for user authentication, create a
DNS CNAME record that goes from your authentication subdomain to
prod.authproject.com. For example:
CNAME auth.yourdomain.com prod.authproject.com
Once you have pointed your authentication subdomain to our servers, we will give
you three more CNAMEs to create, so we can send emails on your behalf. These
will be restricted to only work on the subdomain you have selected for us - for
example, users will receive their email verifications from
noreply@auth.yourdomain.com. These must be created before we can fully
provision your authentication domain.
Now that your authentication subdomain has been pointed at our servers, we will provision a TLS certificate on our own, to encrypt all data between your users and our services. There are no steps required from your side for this to happen.
When everything is complete, you will be able to see your domain accessible in our dashboard. This means that you will be able to edit and manage users, update administrators, and generally view the overall health of your authentication domain.
OIDC is a web standard used for generating access tokens and ID tokens, and specifying how to communicate with an OIDC-compliant Identity Provider (Authproject).
OIDC is built on top of the OAuth2 protocol, and standardizes the endpoints and formats used for exchanging authentication information.
In order to be OIDC compliant, we expose an endpoint called “OpenID Configuration,” where a compatible client can query us and retrieve information about how to talk to our authentication systems.
$ curl https://auth.authproject-demo.com/.well-known/openid-configuration
{
  "authorization_endpoint": "https://auth.authproject-demo.com/oauth2/authorize",
  "issuer": "https://auth.authproject-demo.com",
  "jwks_uri": "https://auth.authproject-demo.com/.well-known/jwks.json",
  "response_types_supported": [
    "code"
  ],
  "subject_types_supported": [
    "public"
  ],
  "token_endpoint": "https://auth.authproject-demo.com/oauth2/token",
  "userinfo_endpoint": "https://auth.authproject-demo.com/oauth2/userinfo"
}
The above endpoint is used by our demo application to learn how to access our authentication systems.
The URL you use for your application will be different! It is of the form
<authentication-domain>.<your-domain>.<tld>/.well-known/openid-configuration.
The demo URL used above is just an example.
Learn how user info is used to store data about a user
User info is a blob of data that is made available to service providers. This blob can be changed via the dashboard, or via our API. Simply POST to us new JSON data to store, and we’ll update it in our systems.
Once a service provider has an access token, they can query an endpoint to get the user info of a given user.
$ curl https://auth.authproject-demo.com/oauth2/userinfo
{
    "fname": "Alan",
    "lname": "Turing",
    "sub": "user-75f3ef985d544ed0a6995523cf21660d"
}
Authorization header for this endpoint to work. See your OAuth client library for how to query the userinfo endpoint.To update the stored user info, you can send a POST request to the same endpoint, with the entire blob you wish to store. We do not currently support inserts to existing user info, we only support replacement of what is there.
$ curl -X POST https://auth.authproject-demo.com/oauth2/userinfo
{
    "fname": "Alan",
    "lname": "Turing",
    "age": 41
}
sub value. This is a value populated by our systems, and cannot be changed.A subsequent GET to the endpoint will return the updated values.
$ curl https://auth.authproject-demo.com/oauth2/userinfo
{
    "fname": "Alan",
    "lname": "Turing",
    "age": 41,
    "sub": "user-75f3ef985d544ed0a6995523cf21660d"
}
These are common terms and ideas used throughout Authproject’s documentation.
A domain is the unit that contains user logins, OAuth clients, and other data
pertaining to a single customer deployment. For example, demo.authproject.com
is a domain, as it has its own user store, settings, applications, and clients.
A subdomain is a DNS entry that sits below another address. For example,
demo.authproject.com is a subdomain of authproject.com.
Read more about subdomains.
OAuth is the underlying technology used to authenticate users to services through Authproject. It is a robust industry standard, utilized by nearly all major websites, and is well understood to be secure and reliable. Auth0 has an excellent explanation of what OAuth is and how it works.
An Identity Provider is the service that holds user identities - that means emails, passwords, and other user details. In this case, Authproject is the identity provider (or, more specifically, the authentication domain you have created in Authproject is the identity provider).
Service Providers are services that communicate with an Identity Provider to authenticate a user. They perform some desirable service for the user, and are generally applications the user may use on a day-to-day basis when interacting with you.
An OAuth client is a server that users can sign in to with your authentication domain. They are given a client ID and client secret, and provide a redirect URI for once authentication has occurred.
Reference information about how Authproject handles user migration
There are two primary methods to load existing users into Authproject. The first is with a “lift-and-shift,” meaning to take the entire user database and upload it all at once, and the second is a “lazy migration,” where users are only migrated when they attempt to sign in.
When migrating users from your existing authentication platform and onto Authproject, the second primary way is to perform a “lazy migration.”
Lazy migrations are a slow process of migrating users only as they sign in. This works well for those that are able to make changes to their existing authentication codebase, and for those that don’t mind hosting their infrastructure after Authproject is set up.
When speed is not a concern, lazy migrations are beneficial for those that want a seamless experience. It allows users to sign in with their existing passwords, whereupon their password is checked and stored securely in our systems.
The main disadvantage of lazy migrations are that it requires changes to be made to the existing authentication platform.
In order to authenticate a user, you must have an API endpoint available where we can submit the user email and password, and your authentication platform verifies it for us. If the password the user submits (and we proxy to you) is correct, you provide us with the rest of the user data to store in our system. If it is incorrect, the user will need to try entering their password again.
When a lazy migration is performed, we will make a request to an endpoint you develop to verify their password.
The verification endpoint must accept URLEncoded form parameters, with the email
being stored in email, and the password being stored in password.
email=email%40example.com,password=my-secure-password
Once this request arrives at the endpoint you have previously specified, we expect one of two responses in JSON format.
{
  "success": true,
  "user_info": {
    "user_info_key_a": "user_info_value_a",
    "user_info_key_b": "user_info_value_b"
  }
}
{
  "success": false
}
Once the password is verified, you can return a dictionary of user information
to us. This will be transparently stored next to the user in our systems, and
can be queried at the /oauth2/userinfo endpoint of our API. It is further
documented on our user info page.
When migrating users from your existing authentication platform and onto Authproject, the first primary way is to do a “lift-and-shift.”
Lift-and-shift is the process of taking the entire user database and uploading it to Authproject all at once. This is called a “lift-and-shift” because you “lift” the users from the existing database, and “shift” them to the new one.
The primary advantages of this system are that you can stop running your old authentication platform immediately, and that you don’t have to modify your existing codebase to support a lazy migration.
When the upload is complete, you can perform a “hard cutover” (immediately force users to utilize Authproject) to Authproject, where any user that was previously using your platform now has to sign in here. This can be beneficial for reducing attack surface.
In order to perform a lazy migration, an extra API endpoint needs to be created on your existing authentication system, which may not be possible in some cases. A lift-and-shift avoids this, so your users can start using Authproject immediately.
The primary disadvantage of a lift-and-shift migration is that users will no longer be able to use the passwords they had previously specified. This is because passwords should not be exported from an existing system, and we cannot guarantee compatibility with other authentication systems’ password storage mechanism.
Because other authentication platforms may use special, or custom, password verification algorithms, we cannot support the uploading of user passwords to our system. This is a significant drawback, and is one of the primary reasons we designed the lazy migration system.
When you are onboarded to Authproject, simply work with us to handle user import. We’ll walk you through the process, ensure that your users are present in our databases, and test the system to ensure proper functionality.
Reference information about how Authproject, OAuth, and other services and technologies operate.
This document seeks to explain what an authentication domain is, how it is used, and how we implement it internally.
When a user wants to sign in to your applicaiton using Authproject, they have to visit a given URL to enter their information. This URL is the beginning of an “authentication domain.” It is a logical grouping of user identities in our database that can be authenticated against.
When a user requests auth.yourwebsite.com, for example, it will be “pointed”
via a
CNAME record
to our servers. This means that when the user visits auth.yourwebsite.com,
their browser talks to Authproject’s “domain service.” The domain service is the
core service that supports user interaction within our platform.
The URL, as mentioned above, sends a user to the domain service.
The domain service looks for the Host header sent by the user’s browser. It
then uses that as a partition key to finding all users that are registered with
that domain. It means that when you look up email@example.com for the domain
auth.yourwebsite.com, it doesn’t find any results for email@example.com
under auth.authproject-demo.com as well. This allows a user to have multiple
“accounts” in the domain service, while ensuring that each “account” they have
is separate from any others stored in the database.
This simplicity from a user’s perspective comes at a cost to us, in terms of operational overhead. Any new website or application we onboard has to go through a process to register within our platform. The first step is for us to register the domain with our CDN provider, Cloudflare. All new domains have an entry added into Cloudflare, allowing TLS certificates (the S in HTTPS) to be provisioned, and enabling our web firewall for use by the customer.
Then, once the website has been set up on our side, the customer needs to point
their domain to our services. They do this by creating the CNAME mentioned
above. This directs web traffic aimed at the authentication domain
(auth.yourwebsite.com) to go to our servers.
Once the authentication domain has been provisioned on both ends, we need to be able to send emails from your authentication domain. This is done by creating three more CNAME records, each of them pointing to a DKIM entry hosted by our email provider, AWS SES.
Once these are configured, we can successfully send emails from the
authentication domain. But don’t worry - just because we can send emails from
noreply@auth.yourwebsite.com doesn’t mean we can impersonate
alan@yourwebsite.com. We can only send emails from auth.yourwebsite.com.
We hope this helps explain what an authentication domain is in our platform, how it’s used, and how we implemented it.
What authentication methods does Authproject provide?
Once a user enters their email, they are presented with options to select how they want to authenticate.
A password is among the oldest authentication methods, but is still widely used today. After entering their email, a user will enter a password to prove that they are who they say they are. This system, while common, is vulnerable to password reuse attacks - where a user uses the same password as on another site, if that password is discovered, can allow an attacker access to the user’s account on Authproject.
A Magic Link is a link emailed to the user which will allow them to sign in. The link, once clicked, will authenticate the user without the need for a password. If an attacker requests a magic link, the only way to authenticate is to receive the email that the user sent. As long as a user’s email account is secure, magic links are a good way to sign in without the need for a password.
Passkeys are becoming more common. They are a cryptographic attestation that the user has access to a device, where that device then validates the user’s identity in some other way - usually using biometrics, or a PIN code. It is a method of passwordless authentication, where a user simply clicks a button or scans a QR code, and are quite robust against all but the most sophisticated adversaries. However, if the user loses the device, they will not be able to sign in using a passkey.
One-time codes are common for two-factor authentication. A user will either receive a code via email, text, or by checking their authenticator app, and will enter the code presented to log in. One-time codes are resistant to replay attacks, as the code changes with time. Therefore, an attacker can only use a one-time code for up to a certain amount of time after it has been generated - then it becomes no-longer valid.
Some images of what it looks like to sign in with Authproject.
To test out the authentication experience, simply visit app.authproject-demo.com
When a user signs in with Authproject, here’s how it looks.
Once the user is sent to Authproject, they are prompted for their email.

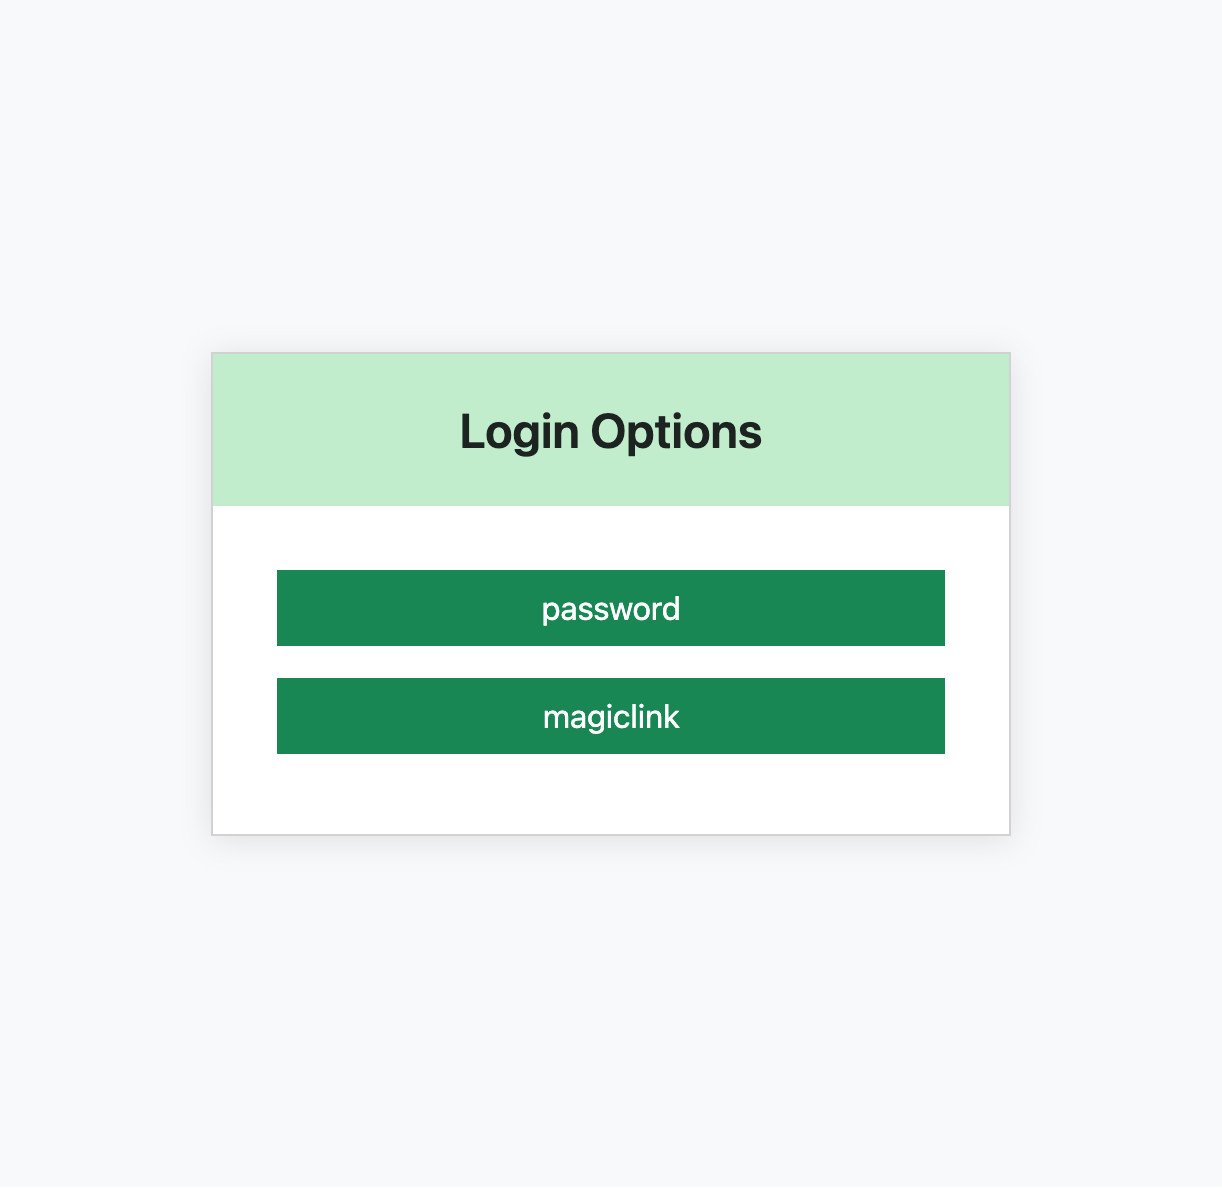
If the user has more than one authentication method enabled, they are able to select which method they would like to use.
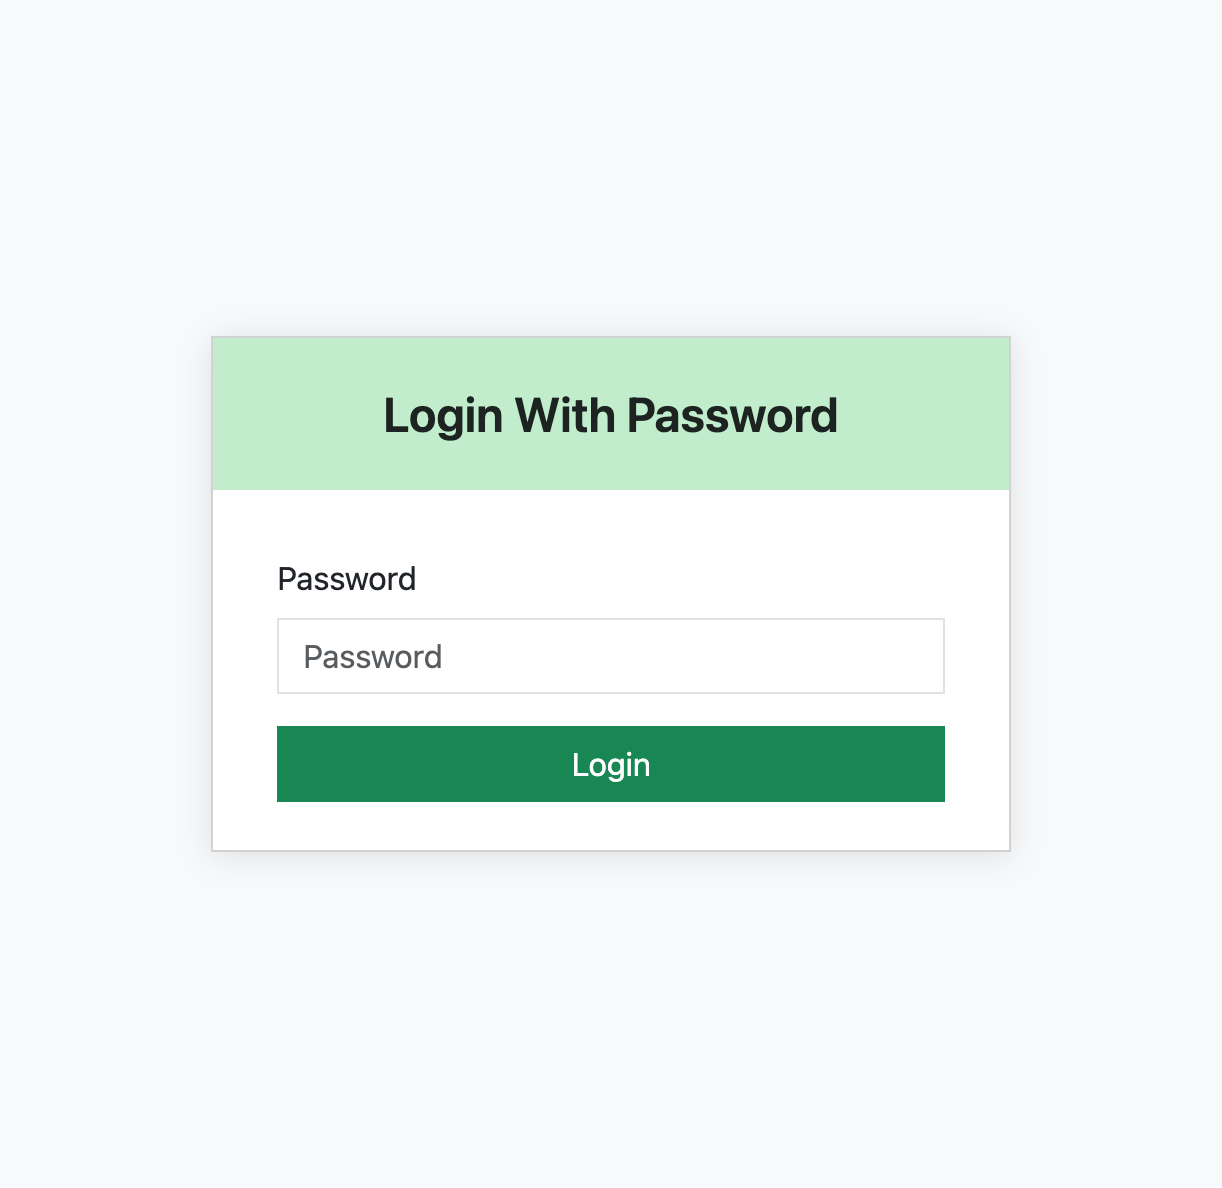
After selecting that a user would like to sign in with their password (or, if a user only has password authentication configured), they will be prompted to enter it.
If there is no configured return URL, they are given a “success” page, as shown here.
